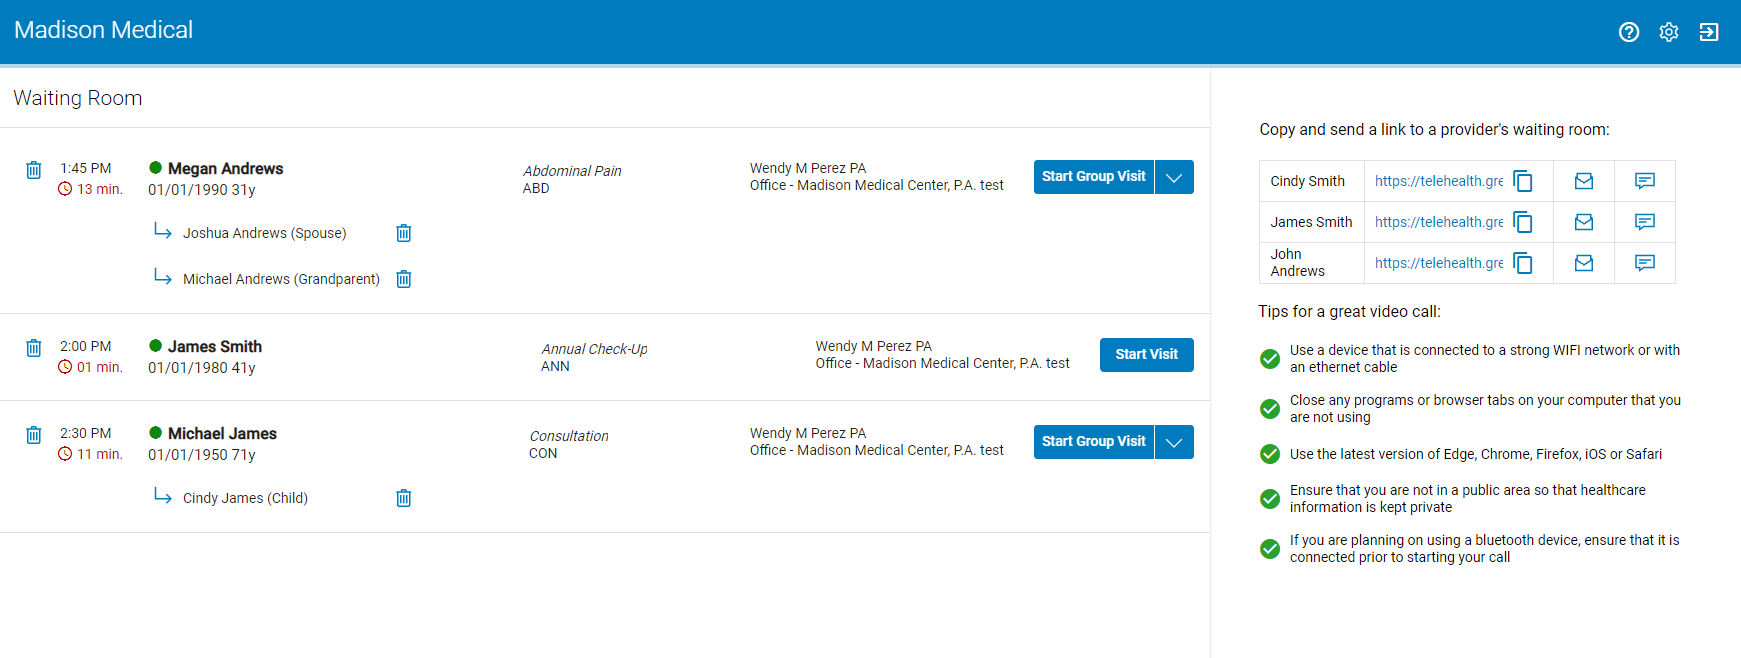
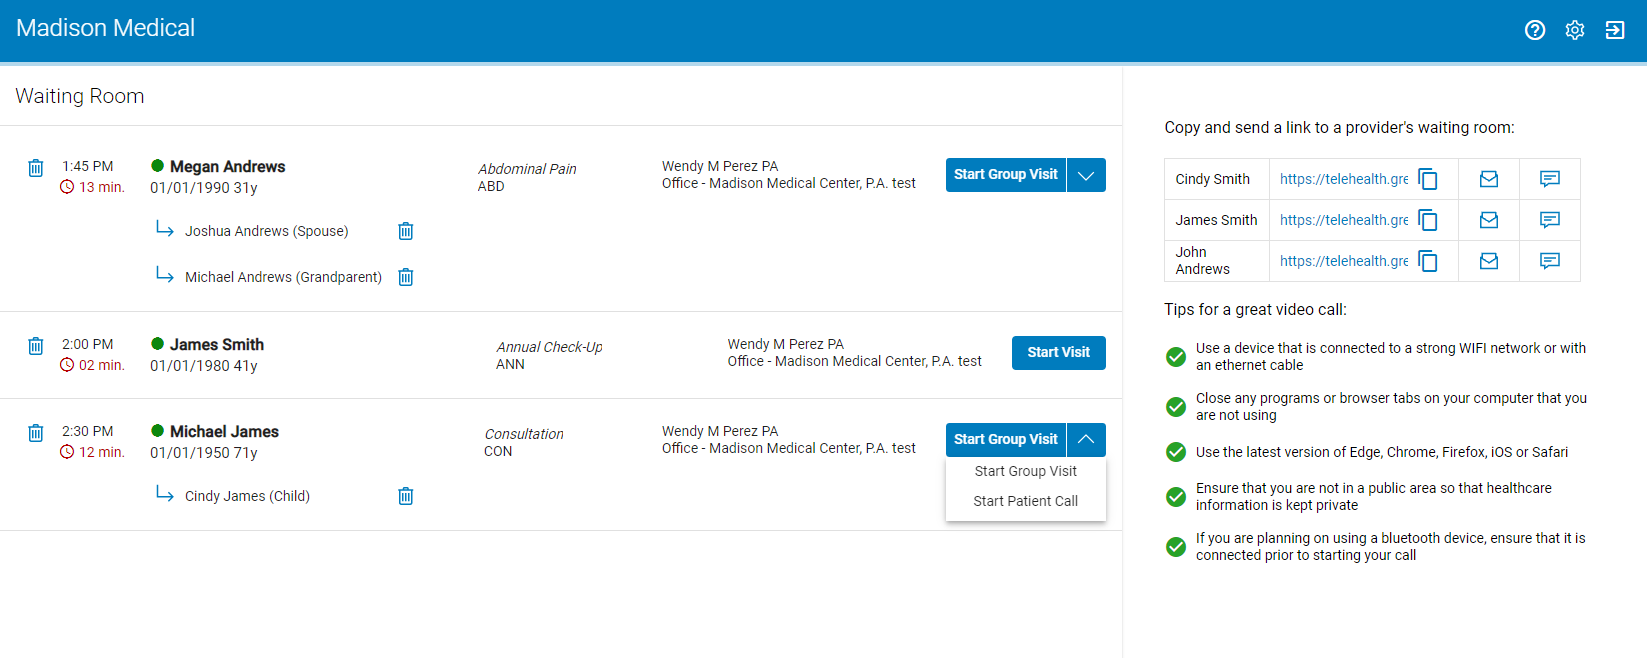
After signing in, you will be taken to your waiting room.
In your waiting room, you can:
- View patients and guests in your waiting room queue.
- View how long a patient has been in the virtual waiting room.
- Remove patients and guests from your queue.
- Start virtual visits and group Telehealth calls.
- Copy waiting room URLs.
- View patient appointment details (Intergy 12.15 or later, and Prime Suite 18.00.04.00 or later only)
- Manually match patient appointments (Intergy 12.15 or later). See the Patient Appointment Matching help topic for more information.
The waiting room queue displays patients from all the waiting rooms that you have access to. Only those clients on Intergy v12.15 or later, and Prime Suite v18.00.04.00 or later are able to see patient appointment information.
If your patient closes the browser window, the patient will no longer appear in the waiting room queue.
Wait Timer
After a patient selects the Check In button, a wait timer starts in your virtual waiting room. The wait timer indicates how long a patient has been in the waiting room prior to a patient's initial contact with a practice user.
The wait timer will not appear whenever a patient is placed back into the waiting room queue following initial contact with a practice user.
Remove Patients and Guests from the Queue
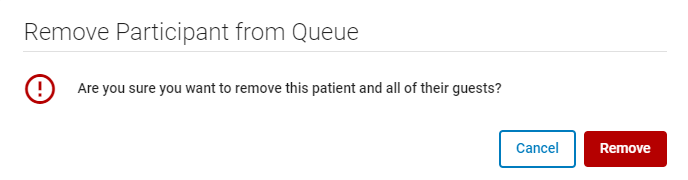
To remove a patient and all of their guests from the waiting room queue, select the trash can icon  next to the patient's name. In the prompt, select Remove. Select Cancel to return to the waiting room without removing the patient and guests.
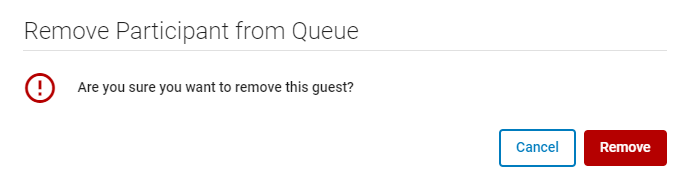
To remove only a guest from the waiting room queue, select the trash can icon next to the guest's name. In the prompt, select Remove.
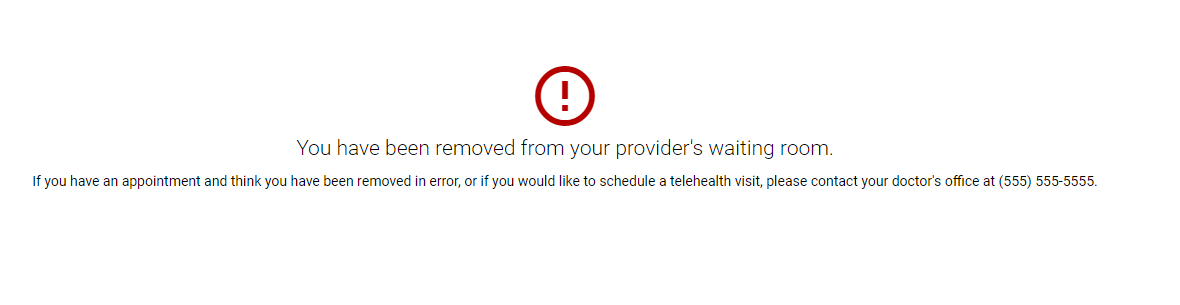
If you remove a patient or guest from the waiting room, they will see the following message in the browser window.
Users with Multiple Room Access
For Greenway Telehealth™ users that have access to multiple rooms, all checked-in users from these rooms appear in the waiting room queue. Additionally, room URLs display for each room the user is granted access.
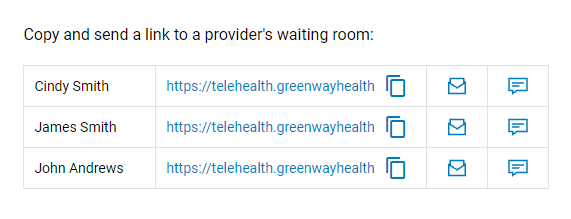
Copy Waiting Room URL
To copy the waiting room URL with your patients and patients' guests, either select the copy icon  or select the URL and then copy the URL using Ctrl-C on your keyboard.
After you send the waiting room URL to a patient or guests (based on your practice's method of communicating with patients), the patient or guests will then be able to select this link, which will take them to the Patient's Waiting Room.
Invite Participants via Email or Text Message
In addition to copying and pasting a room's URL into an email or text message, you can also send invites via email or text message from your virtual waiting room. Selecting either the email or text message icon opens the Invite via Email or Invite via Text window. See below for details.
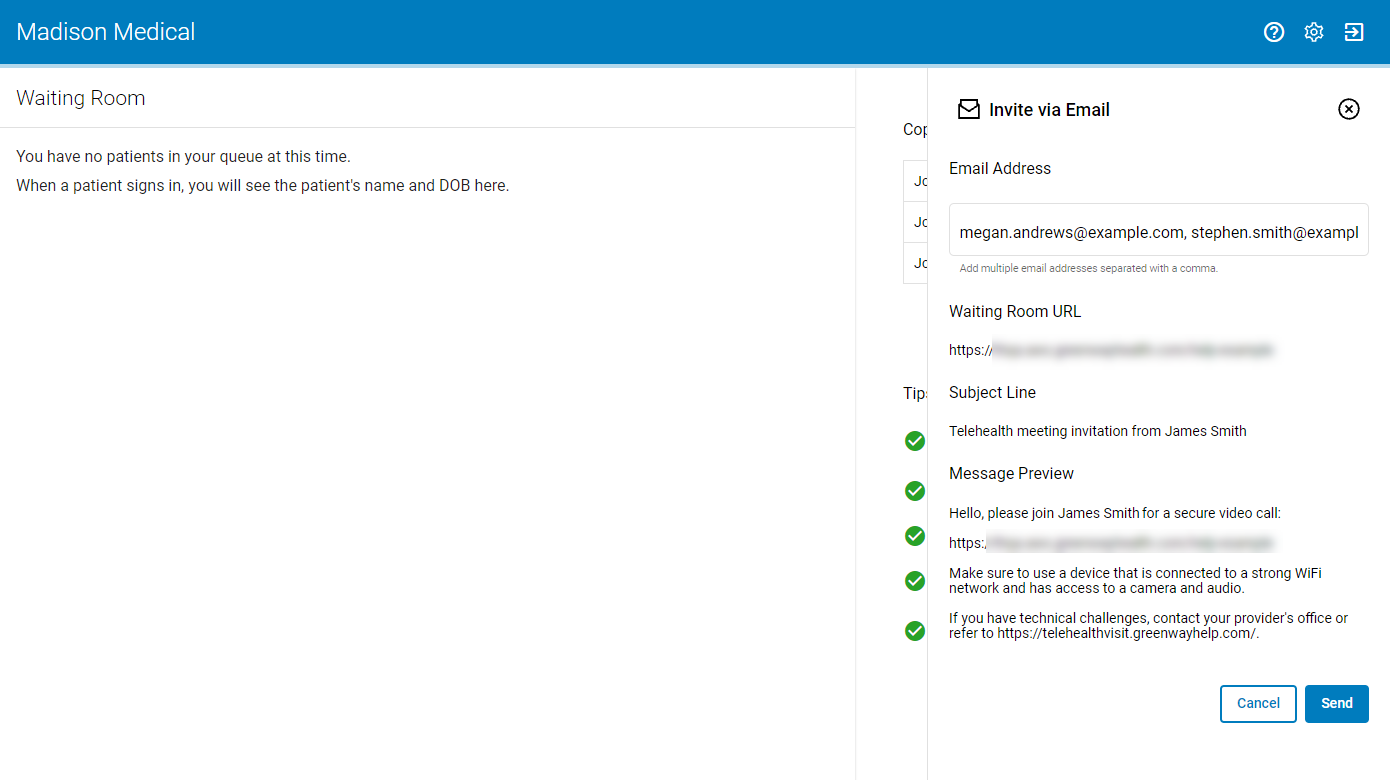
The subject line of the email will be in the following format: "Telehealth meeting invitation from [provider name]".
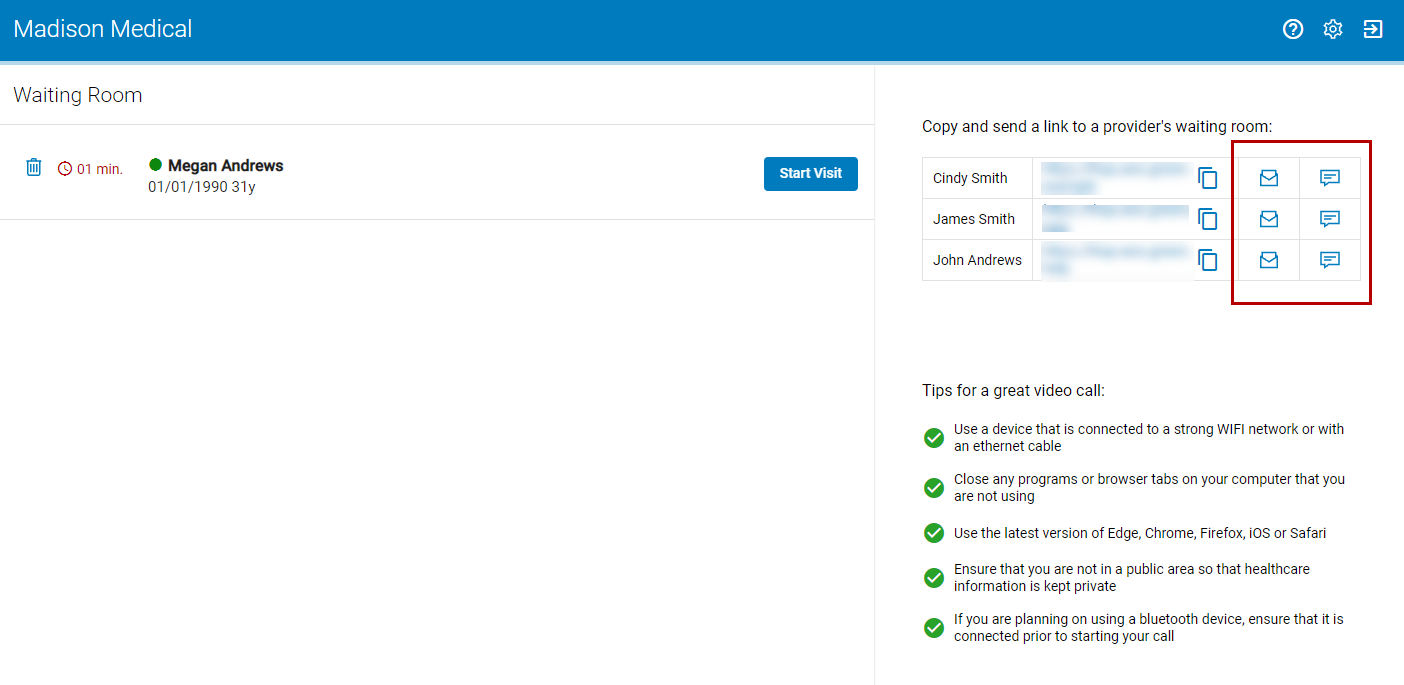
Invite via Email
To send an invite via email, select the Invite via Email icon ![]() and then enter a valid email address or addresses. After selecting Send, the email recipients will receive a canned email as shown under Message Preview. To send an invite to multiple email address at once, add multiple email addresses and separate each email address with a comma.
and then enter a valid email address or addresses. After selecting Send, the email recipients will receive a canned email as shown under Message Preview. To send an invite to multiple email address at once, add multiple email addresses and separate each email address with a comma.
The maximum number of email addresses is 10 per message.
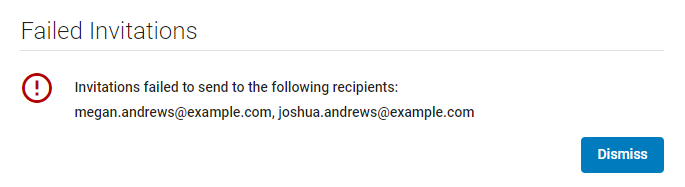
If one or more of the email invitations failed to send, a window shows the email addresses that failed to send.
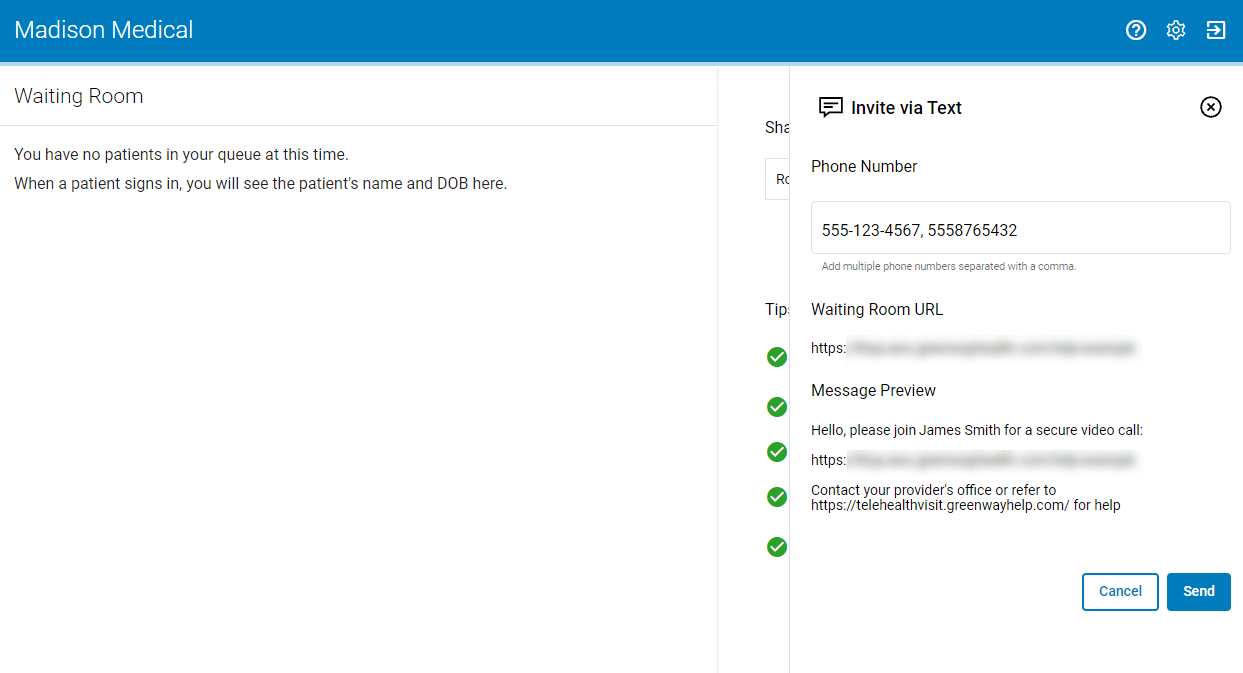
Invite via Text
To send an invite via text, select the Invite via Text Message icon ![]() and then enter a valid phone number or phone numbers. After selecting Send, the text message recipient will receive a canned text message as shown under Message Preview. To send an invite to multiple text messages at once, add multiple phone numbers and separate each phone number with a comma.
and then enter a valid phone number or phone numbers. After selecting Send, the text message recipient will receive a canned text message as shown under Message Preview. To send an invite to multiple text messages at once, add multiple phone numbers and separate each phone number with a comma.
The maximum number of phone numbers is 10 per message.
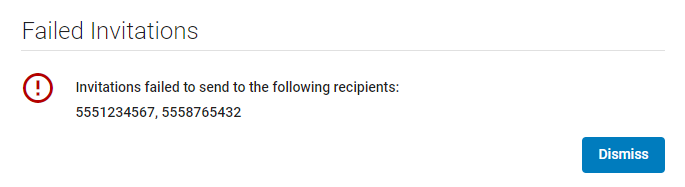
If one or more of the text message invitations fail to send, a window shows the phone numbers that failed to send.
Start Visit
To start a visit with one of the patients in your waiting room queue that does not have any guests, select the Start Visit button.
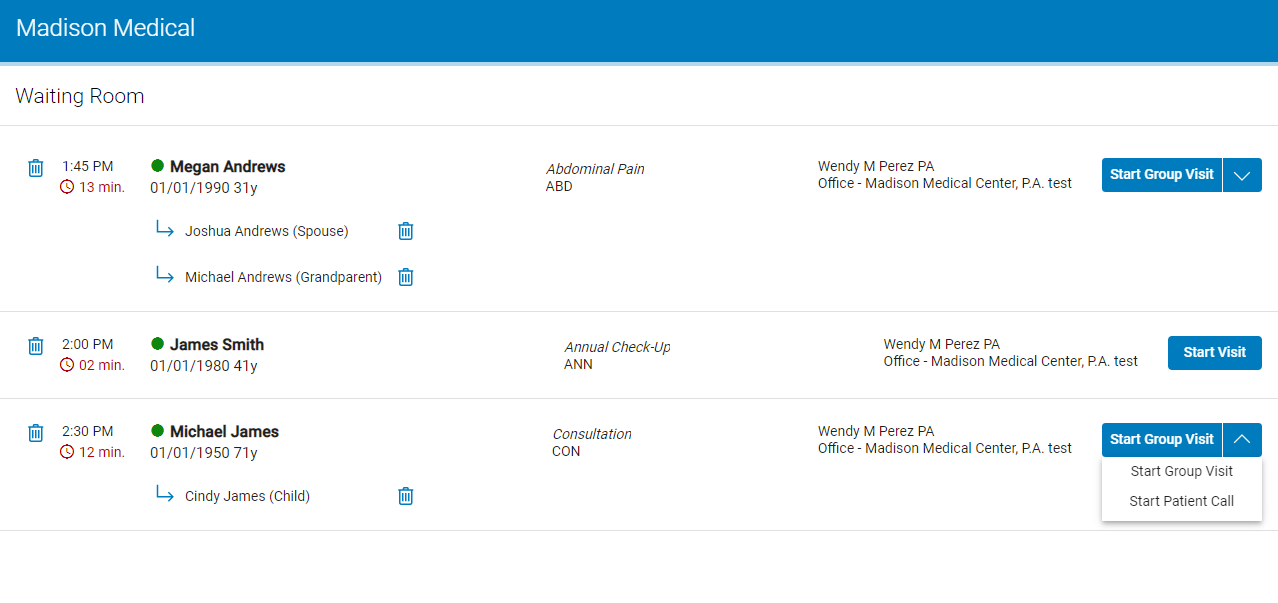
To start a call with a patient and guests, select the Start Group Visit button or select the drop down and then select Start Group Visit.
To start a call with the patient only, select the drop down and then select Start Patient Call.
See the Virtual Visit help topic for more information.

